Difficulty
Moderate
Steps
4
Time Required
02:00:00

In Progress
This guide is currently being written. Reload periodically to see the latest changes.

Private
This guide will not appear in search results and can only be viewed by team members!
Tools
-
-
It's alwasy a good idea to have all the parts and tools you'll need laid out before starting in a well lit area
-
Unplug the amp and put on your safety goggles
-
Remove the tubes, unplug the speaker, unplug the reverb from the chassis( be sure to note which plug is white and which is red), and remove the clips holding the power cable to the chassis
-
Remove the screws holding the back panel and remove it. Unscrew the chassis screws and straps on the top of the amp.
-
The chassis should slide out easily exposing the circuit board. It's easiest to work on with the chassis completely removed from the cabinet
-
-
-
Skipping this step could result in death!
-
Using your multimeter set to DC measure the voltage between SP1 and ground. If the voltage is higher than 15V you need to drain the voltage from the caps.
-
Clip an alligator lead to SP1 and another to the 5W resistor provided for draining the caps then clip another alligator lead from the other side of the resistor to ground.
-
Measure the voltage DC until it is less than 15VDC. You can leave the alligator clips in place to keep the caps from recharging, just remember to remove them before you turn the amp on when you finish!
-
-
-
Remove the control knobs by loosening the set screws and all nuts securing the pots and jacks to the chassis
-
Clip thew zip tie holding the bias pot to the main PCB
-
Unplug the quick connects that connect the control PCB to the main PCB
-
-
-
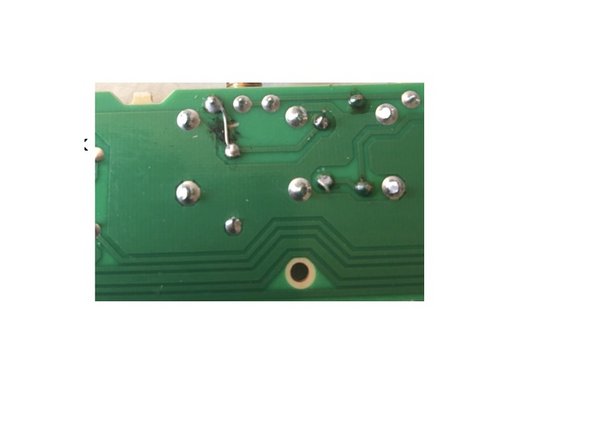
Replace the tone stack caps as shown in the pic.
-
A very popular mod on vintage Fenders is to replace the bass and mid caps on the vintage channel( C8 and C9) with .022 caps. We've included those caps if you want to try it. It'll make the amp a little smoother and the lows less woofy
-
If you want to modify the Custom Channel back to Deluxe Reveb specs you need to remove the 18k resistor on the back of the board and solder a lead in it's place as shown in the pic and also install a .047 cap in C4 instead of the stock .022
-